[ Next: The Lastest Workout Recovery Tools Look Just Like Power Drills ]
Your DIY Guide To Curing Chronic Aches and Pains
-
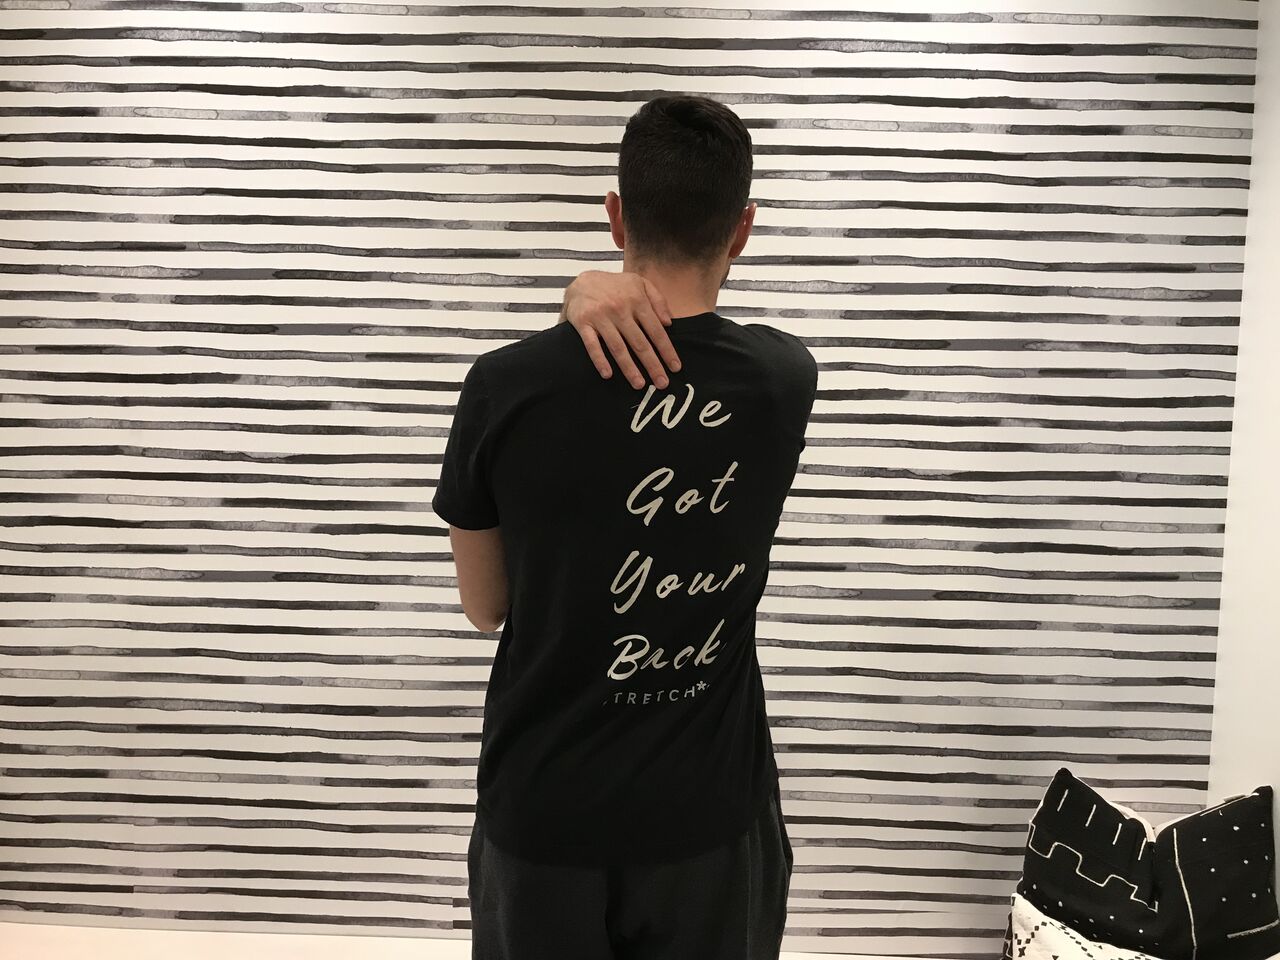
Shoulder Aches: The Trap Tap
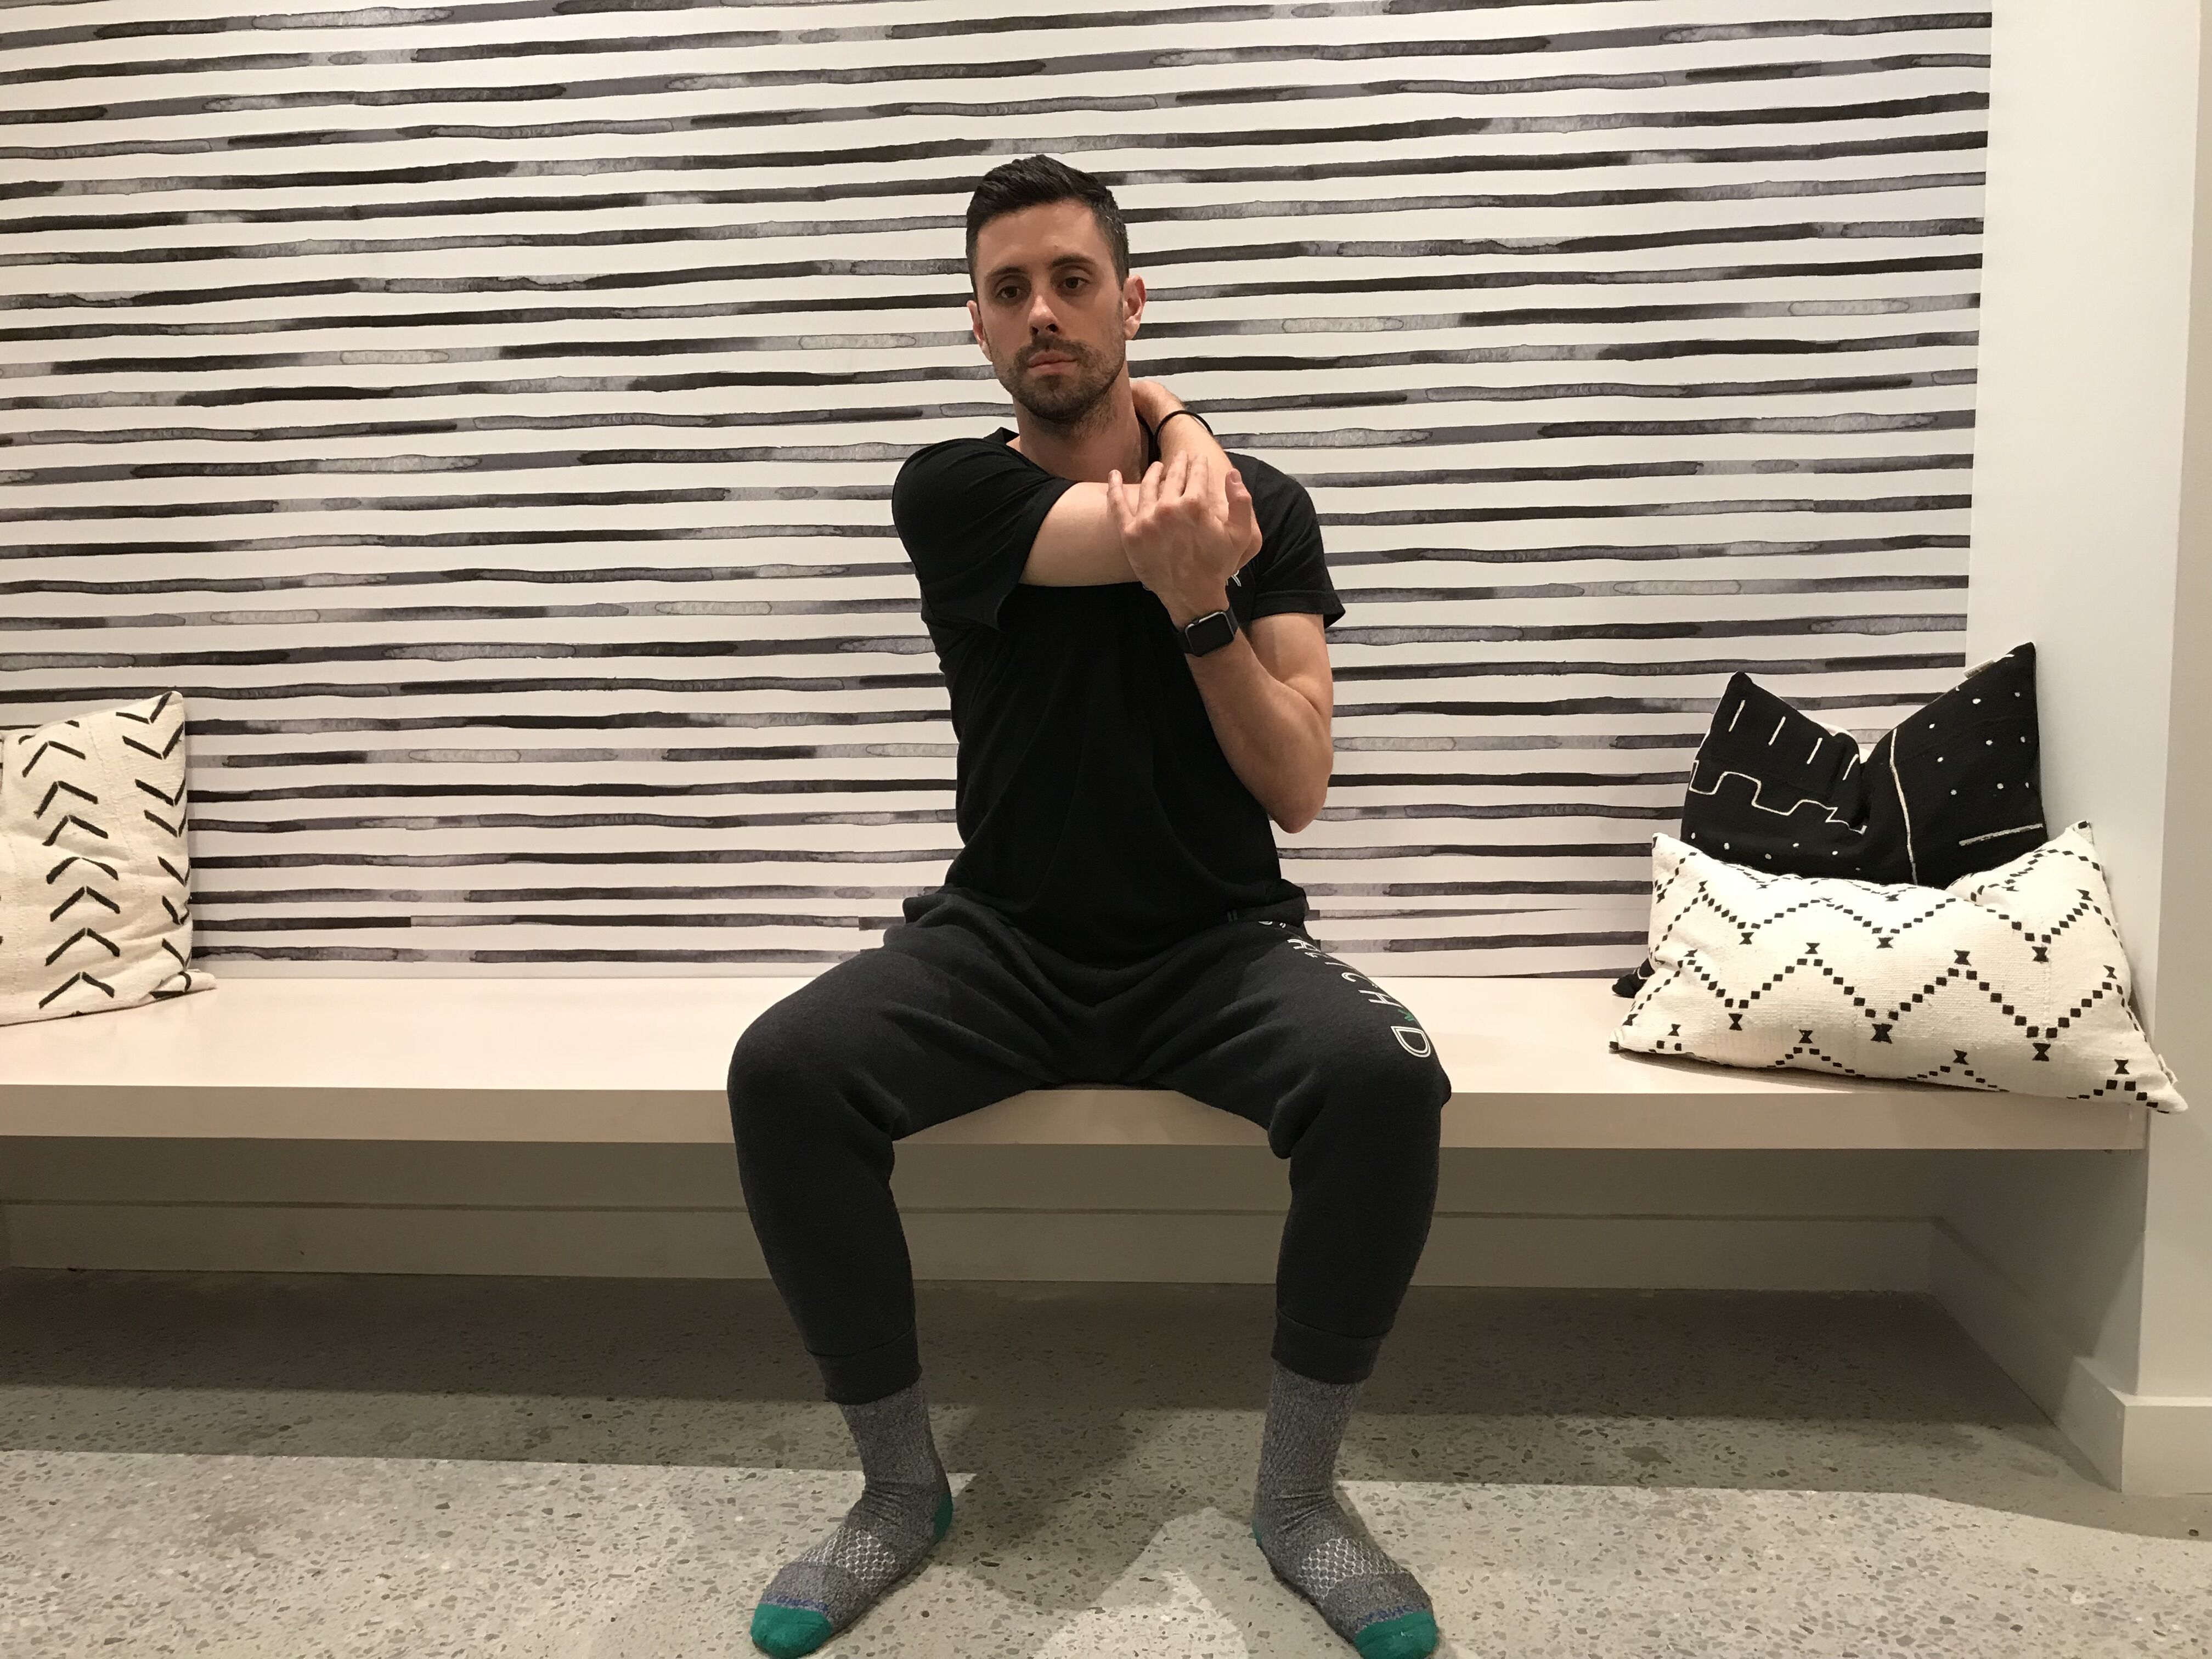
"This stretch will help stretch out the trapezius and also help to relax the shoulders away from the ears (from all your desk sitting). Stand or sit with your feet slightly apart and your arms at your sides. Lift one arm, with the elbow bent, and raise it across your chest over the opposite shoulder until your hand reaches down your back (like you’re giving yourself a well-deserved pat on the back). Use the other hand to give a gentle assist at the elbow at the end of the movement. Keep your torso still and resist the temptation to hike up your shoulder. Hold each tap for two to three seconds and release. Repeat 10 times for a full set." -Jeff Brannigan, program director at Stretch*d
-
Shoulder Aches: The Trap Tap
-
Back Aches: Twist and Dip
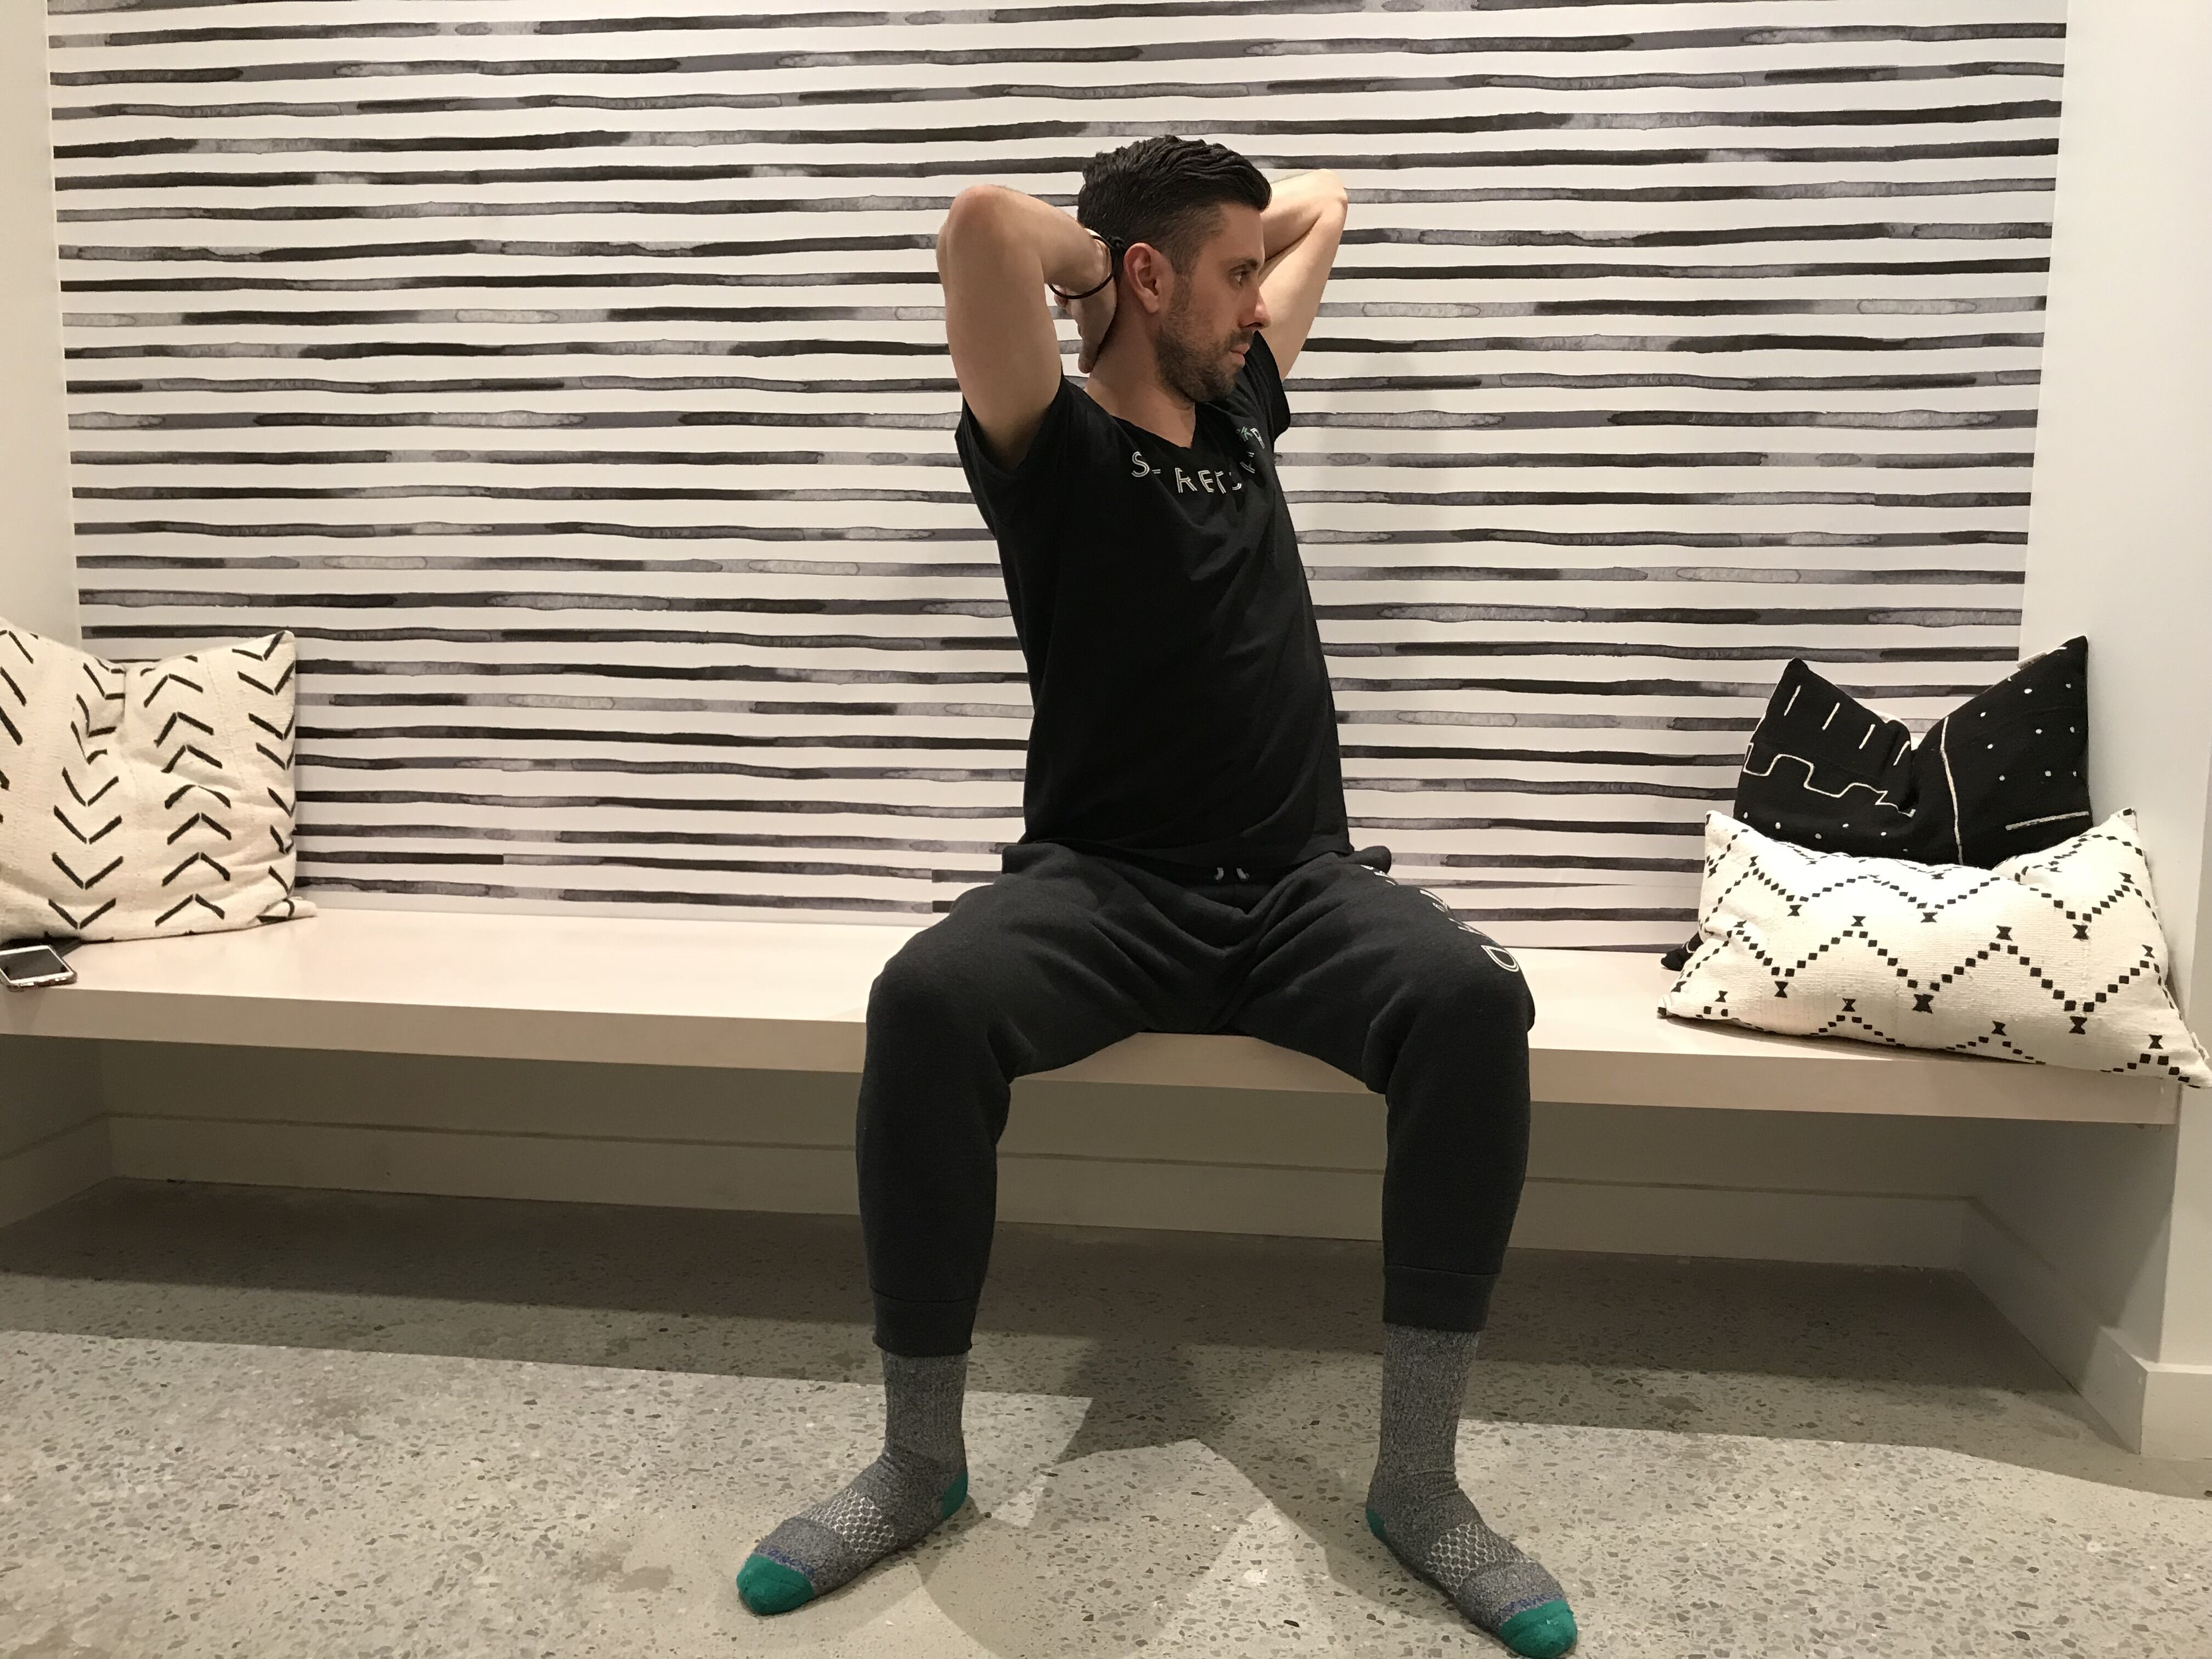
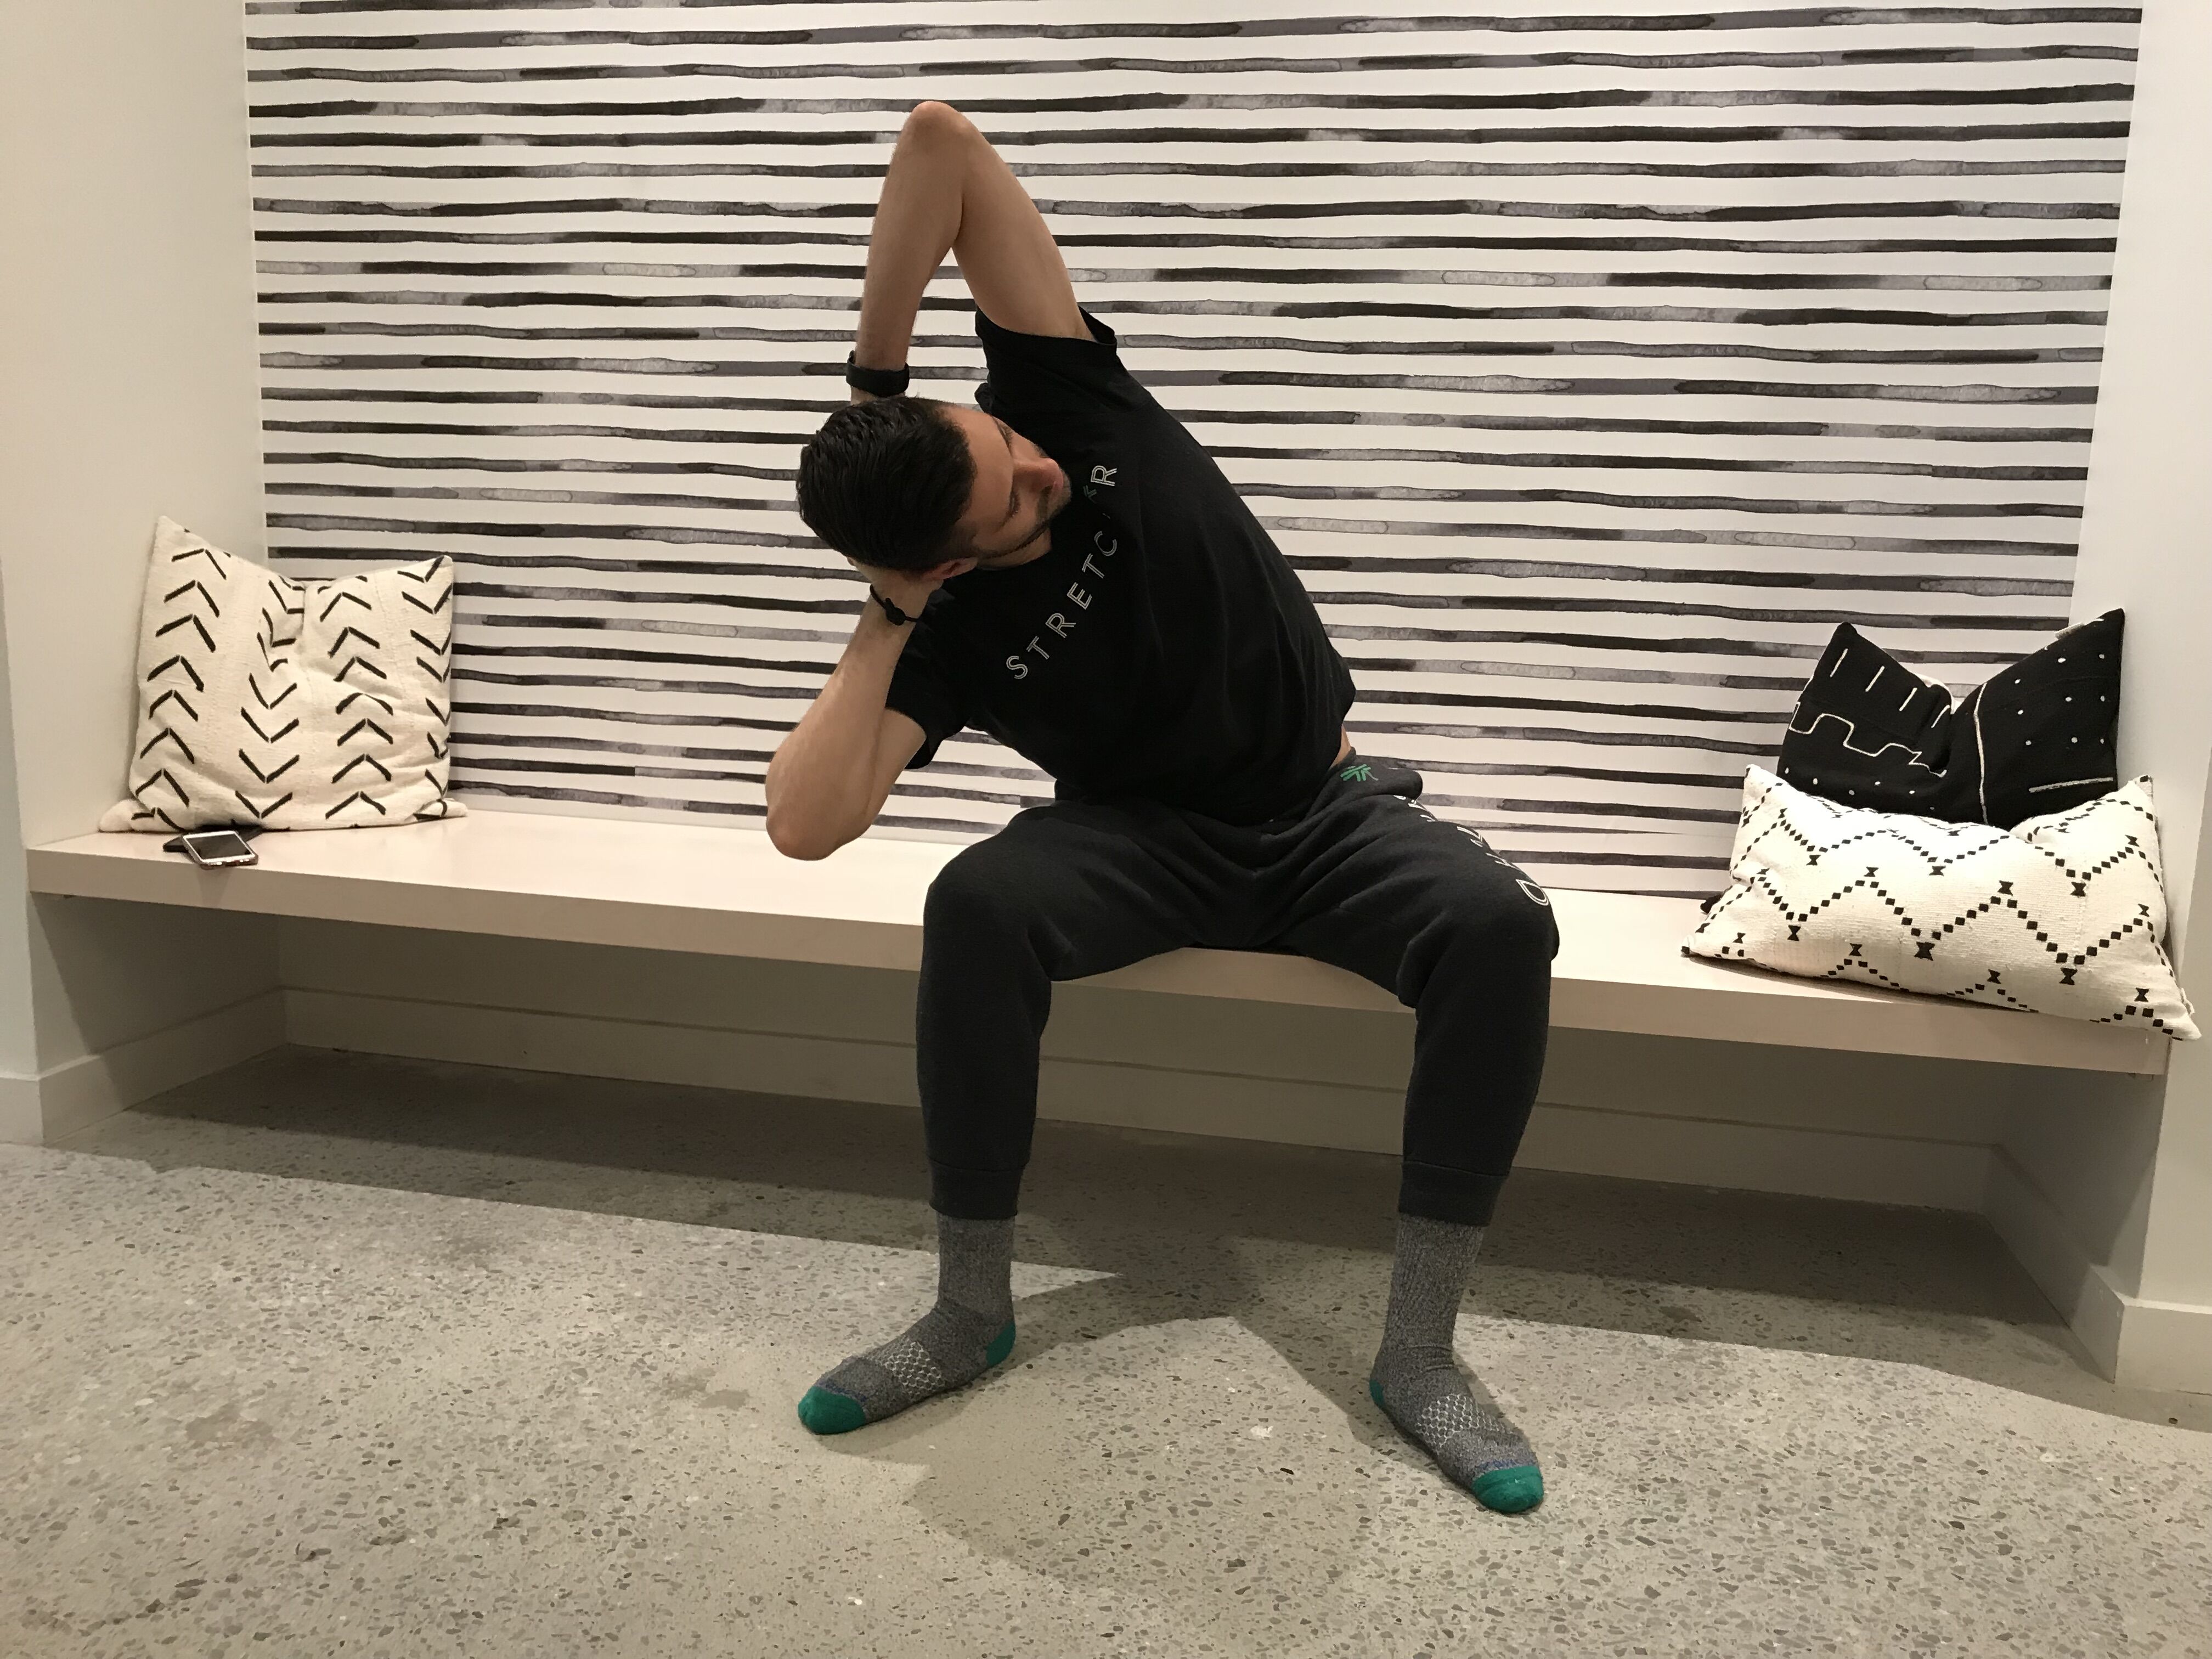
"This is a great one for lower back pain. Place your hands behind your head and interlace your fingers with your elbows out. Twist your upper body in one direction until you have twisted as far as you can go. When you feel loosened up (after three or four repetitions in one direction), twist, hold and then dip your elbow toward the outside of the same side knee. Return to an upright position. Work one side at a time, completing all repetitions before beginning on the opposite side. Do 10 to 12 repetitions." -Jeff Brannigan, program director at Stretch*d
-
Back Aches: Twist and Dip
-
Back Aches: Cat Cow

"Our goal in this exercise is to mobilize the joints around your spine. Do these when you first wake up or as a warm-up. Beginning on all fours, starting with your tailbone, tuck your spine into a hollow position while pressing away from the ground. Inhale for four counts and then slowly start to arch your back while exhaling for four counts. That is one rep. Do six to eight reps." -Callie Gullickson, trainer at Rumble Boxing
-
Back Aches: Cat Cow

-
Lower Back Pain: Side Plank With Staggered Legs

"Get into side plank position. At the top of your side plank, you want to make sure that your elbow is directly below your shoulder for proper alignment. You also want to act as if you are pushing yourself away from the floor so that you are not sinking in the bottom shoulder. Draw the navel toward the spine while engaging your glutes; you want to engage your quads and squeeze your legs together as if you were holding something between them. Hold this position for a few seconds." -Chad Raynor, C.P.T., Stick Mobility instructor and therapist at ReCover NYC
-
Lower Back Pain: Side Plank With Staggered Legs

-
Hip Pain: Shoulder Bridge

"This is a great exercise to strengthen the glutes, activate the lower abs and to lengthen the hip flexors, which often create tension in hips and lower back when tight. Lift your tailbone off the floor, articulating your spine as you raise your hips up until your body is in a straight line from your knees to your shoulders. Gradually build up to 50 reps." -Ilaria Cavagna, celebrity trainer (Katy Perry, Allison Williams) and founder of High Heel Rescue
-
Hip Pain: Daily C.A.R.s (Controlled Articular Rotations)

"Begin by lying on your stomach with your hands beneath your forehead. Engage the whole body and bend one knee with your heel moving toward the ceiling. Lift as high off the ground as possible without moving your spine. Externally rotate your knee, further lifting it up to your shoulder. Rest, take a breath and then return back to the starting position by reversing the movement. Do three to five reps on each side." -Callie Gullickson, trainer at Rumble Boxing
-
Hip Pain: Daily C.A.R.s (Controlled Articular Rotations)

-
Shin Splints: Calf Raises
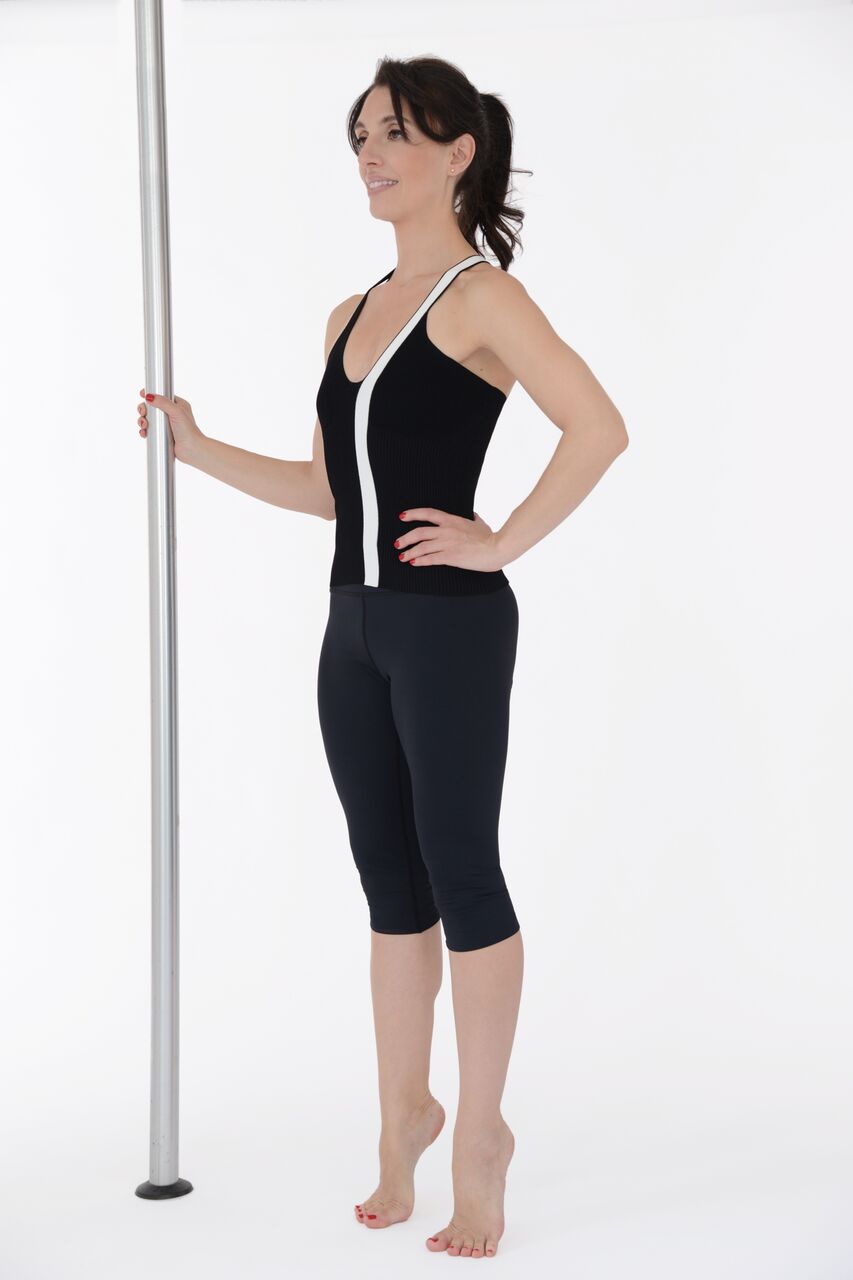
"Strengthening the calf will help stabilize the tibia in all its parts and lessen shin splints. Hold on to a wall or a chair for balance. Lift up your heels so you are balancing only on the front part of your feet and then lower them back down to the floor slowly as if you were to resist a spring below your heels. Do at least 10 at a time." -Ilaria Cavagna, celebrity trainer (Katy Perry, Allison Williams) and founder of High Heel Rescue
-
Leg Cramps: Calf Stretches
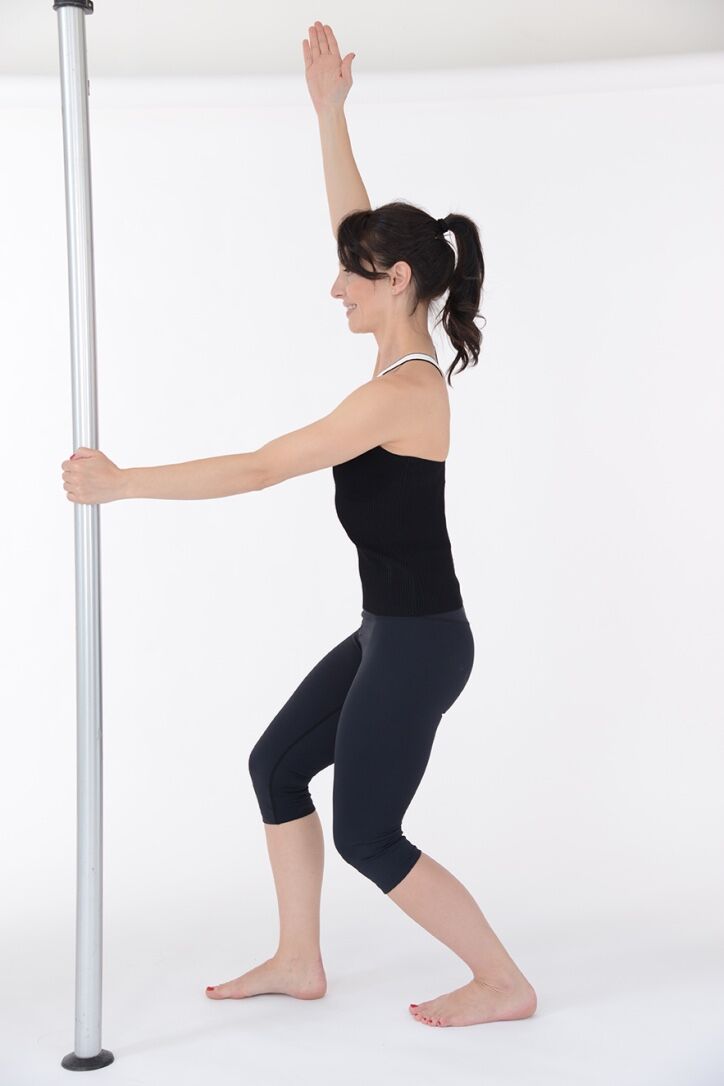
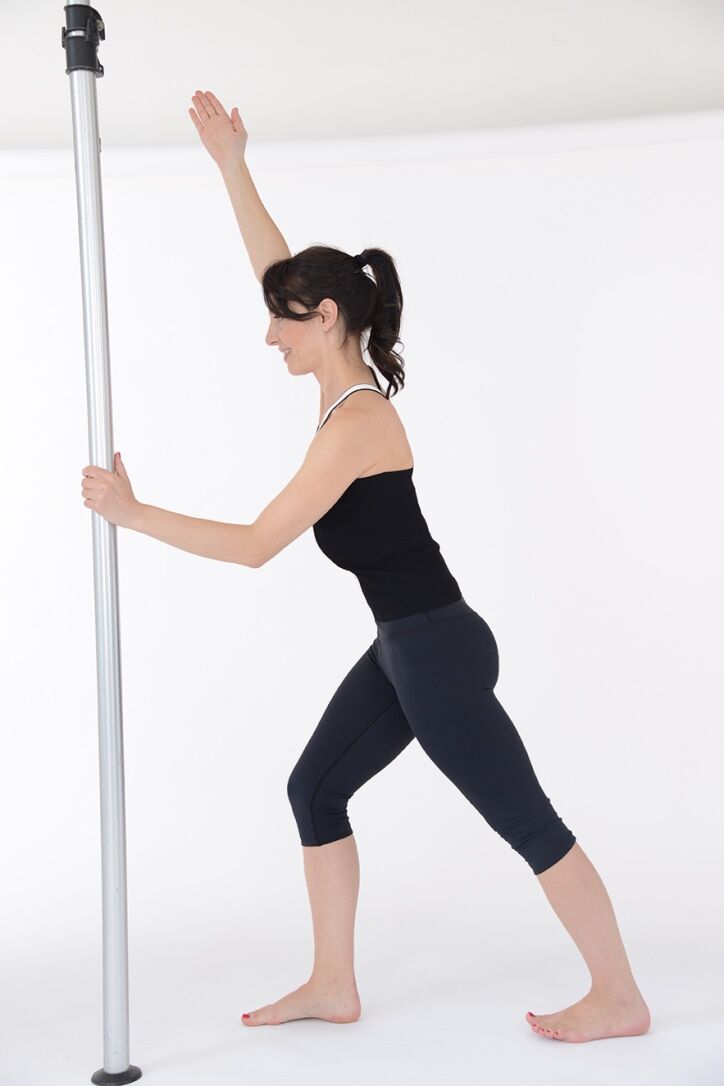
"Face the wall in a lunge position and place your hands on the wall for support. Place the posterior leg, the one we are stretching, as far back as possible with the heel down on the floor to create a diagonal trajectory between the top of the head and the heel. To make the stretch effective, make sure you intentionally press the heel to the floor while lifting the toes off the floor. This will create more tension in the fascia on the bottom of the foot, allowing it to release. Repeat the same thing with the leg bent to access the deeper calf muscles. In a matter of a week/10 days, if done regularly, this stretch can incredibly decrease leg cramps." -Ilaria Cavagna, celebrity trainer (Katy Perry, Allison Williams…) and founder of High Heel Rescue
-
Leg Cramps: Calf Stretches
-
Leg Cramps: Rectus Femoris Stretch
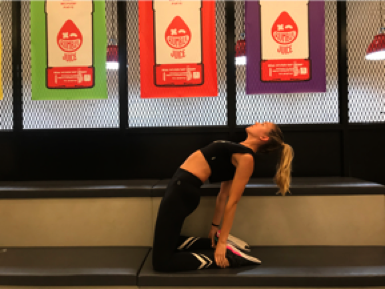
"We often get cramps from dehydration, not recovering properly or from excessive work loads in prior days. To get the blood flowing, flush out your legs on a bike for 5 to 10 minutes followed by the following stretches. Sit on your knees with your hands resting behind you while supporting your body. Keeping your core tight, lift hips up toward the ceiling and let your gaze move toward the ceiling as well. Release back down to starting position for one rep. Do five to eight reps." -Callie Gullickson, trainer at Rumble Boxing
-
Knee Pain: Wall Squats
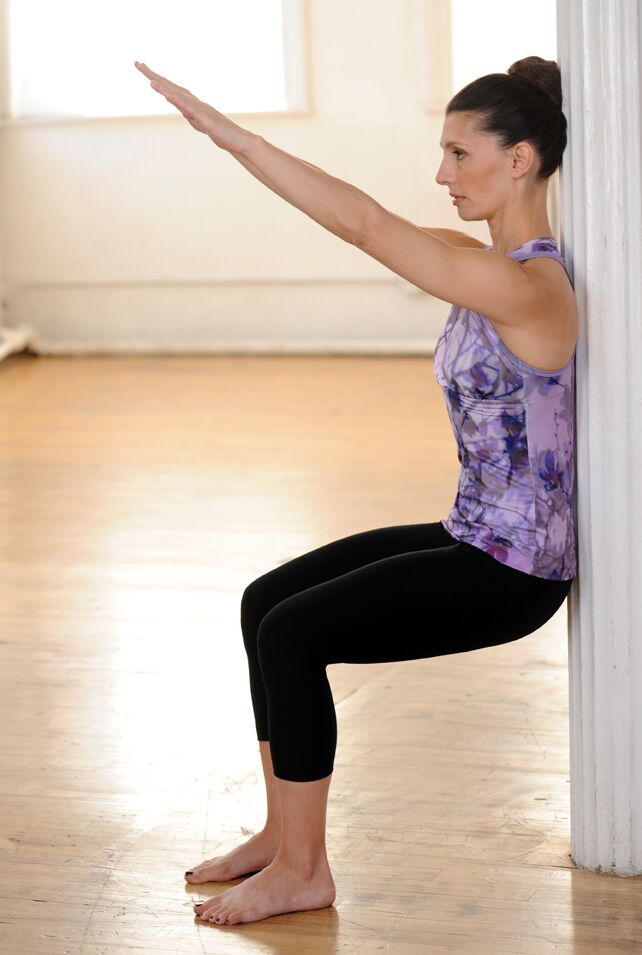
"These will strengthen the muscles around the knee without adding friction and decreasing the pressure on the joint. Standing with your back against a wall, feet hip-distance apart, squat down until your thighs are no lower than parallel to the floor and hold the position for as long as you can, building up to one minute as you get stronger. Single leg squatting to make it more advanced: lift one leg and hold for 20 to 30 seconds. Switch legs and repeat. This is a very powerful exercise that will allow you to decrease the pressure on the knees in three weeks of daily execution." -Ilaria Cavagna, celebrity trainer (Katy Perry, Allison Williams) and founder of High Heel Rescue
-
Hip and Quad Pain: Kneeling Rectus Femoris Stretch

"Start from a half kneeling position. You might need a mat or cushion if your knees are sensitive. The stretch is more intense as you get closer to the wall so start further away and work yourself closer as you become more comfortable. When you are up, you want to scoop your tailbone under to make sure you are not arching your back. You will also engage the glute of the leg that is up the wall. Hold for up to two minutes per round." -Chad Raynor, CPT, Stick Mobility instructor and therapist at ReCover NYC
-
Hip/Back/Knee Issues: Seated 90/90 Position

"I put hips and knees together for this because generally when you have knee issues, it stems from your hips first and the foot or ankle second. This position is called 90/90 because both your legs are in a 90-degree position. When sitting in your 90/90, you want to sit as tall as possible and you want to minimize any leaning to either side. You can start here as a passive stretch holding for up to two minutes each side." [continued next slide]
-
Hip/Back/Knee Issues: Seated 90/90 Position

"Next, you can drive both legs into the floor while sitting upright for 15 seconds and then pull yourself forward with your hips as far as you comfortably can for 15 seconds. From there you would drive the legs back into the floor in the new range (meaning not returning to the original starting position, but starting from your new position of being forward over the front leg). Repeat both versions five times with 15-second holds of each." -Chad Raynor, CPT, Stick Mobility instructor and therapist at ReCover NYC
-
Neck Pain: Sphinx With Cervical Rotation

"Lie on your stomach and prop elbows underneath you, keeping your core engaged. Protract your scapulas, creating space between the shoulder blades. Look slowly to the left and then to the right and return back to starting position by retracting your scapula. Do eight reps." -Callie Gullickson, trainer at Rumble Boxing
-
Neck Pain: Sphinx With Cervical Rotation

