Sponges are definitely one of the most useful makeup tools in our arsenal. They are so essential for creating that flawless, airbrush finish all of us covet. We honestly can’t imagine what people did before the invention of the Beautyblender. But just like with makeup brushes, cleaning makeup sponges can get pretty tedious.
Believe us, we know firsthand what a pain it can be. Especially if you use separate ones for all of your products. Unfortunately, you can’t skip this task. Unless you like your makeup with a side of bacteria. Yikes. Obviously, buying new ones every single time said sponges get downright dirty isn’t an option, either.
But that’s where we come in. We compiled some truly useful tips and tricks for cleaning your sponges. That way you won’t ever be forced to use those nasty, dirty ones ever again. Or have to shell out funds every time your current go-to gets too filthy to use. So you can keep more of your precious money right where it belongs — safely stashed in your wallet.
Keep reading to learn the right ways to clean up your act.
[ Next: How to Clean Makeup Brushes (and the Gross Reasons Why You Should) ]
Quick and Easy Ways to Take Care of Your Makeup Sponges
-
Wash your Beautyblender before use

Beautyblender The Original Beautyblender, $20 at Beautyblender
Since the Beautyblender is supposed to be wet when used, this is the perfect time to wash it and have a clean sponge every time you apply your makeup.
-
Use mild soap and water

Johnson's Head-to-Toe Wash & Shampoo, $2.99 at Target
You may be pressed for time, but don’t use just any soap or detergent available to clean your sponge. Makeup sponges are delicate and prone to wear and tear so the last thing you want is to damage it with harsh cleansers. A mild soap or even baby wash is sufficient to remove all old makeup and leave your sponge like new.
-
You can also use olive oil and dish soap

Similar to how cleansing oil works to remove makeup from your face, olive oil can help squeeze out the nasty stuff absorbed by your makeup sponge. Mix equal portions of olive oil, soap and water. Dip the dirty sponge in the solution and squeeze out all the residue under running water. When you’re sure it's all gone, wash the sponge again with soap to make sure there's no oil left.
Image: Lilyana Vinogradova/Getty Images
-
Try the microwave method
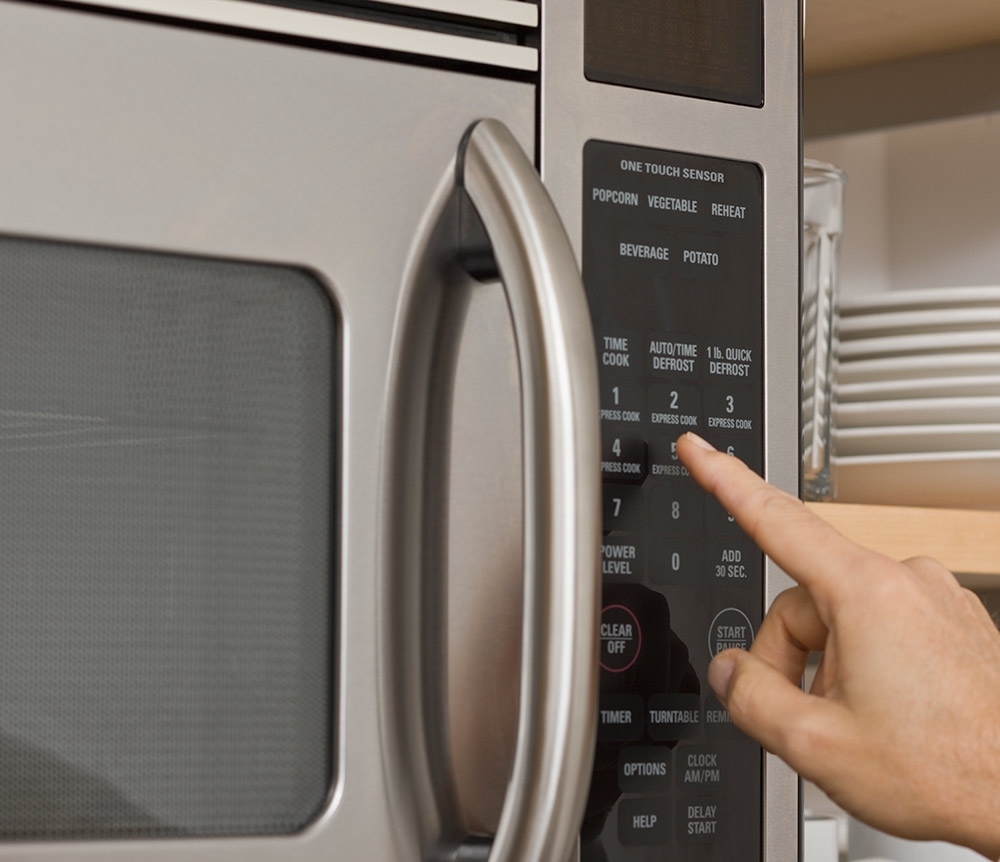
This got some buzz on Twitter and people were freaking out from the results. Basically, you take a microwave-safe cup with soap and water and submerge your dirty sponge in it. Pop it in the microwave for one minute. Let it cool, then drain. Rinse and squeeze the sponge. It comes out so clean without any trace of makeup. That is if you follow the directions. Some people forget to add water and get a melted Beautyblender, while some get too excited and don’t wait for the water to cool and end up with first-degree burns. NOT good.
This method is not only convenient and easy, but also leaves your sponge germ-free — it’s the same as sanitizing kitchen sponges. Cosmopolitan explains how the microwave essentially acts like a washing machine, which is why the sponge comes out spotless. This may cause your sponge to degrade faster so it’s probably best to do it once in a while.
Image: Tetra Images/Getty Images
-
Air-dry and store your sponges properly
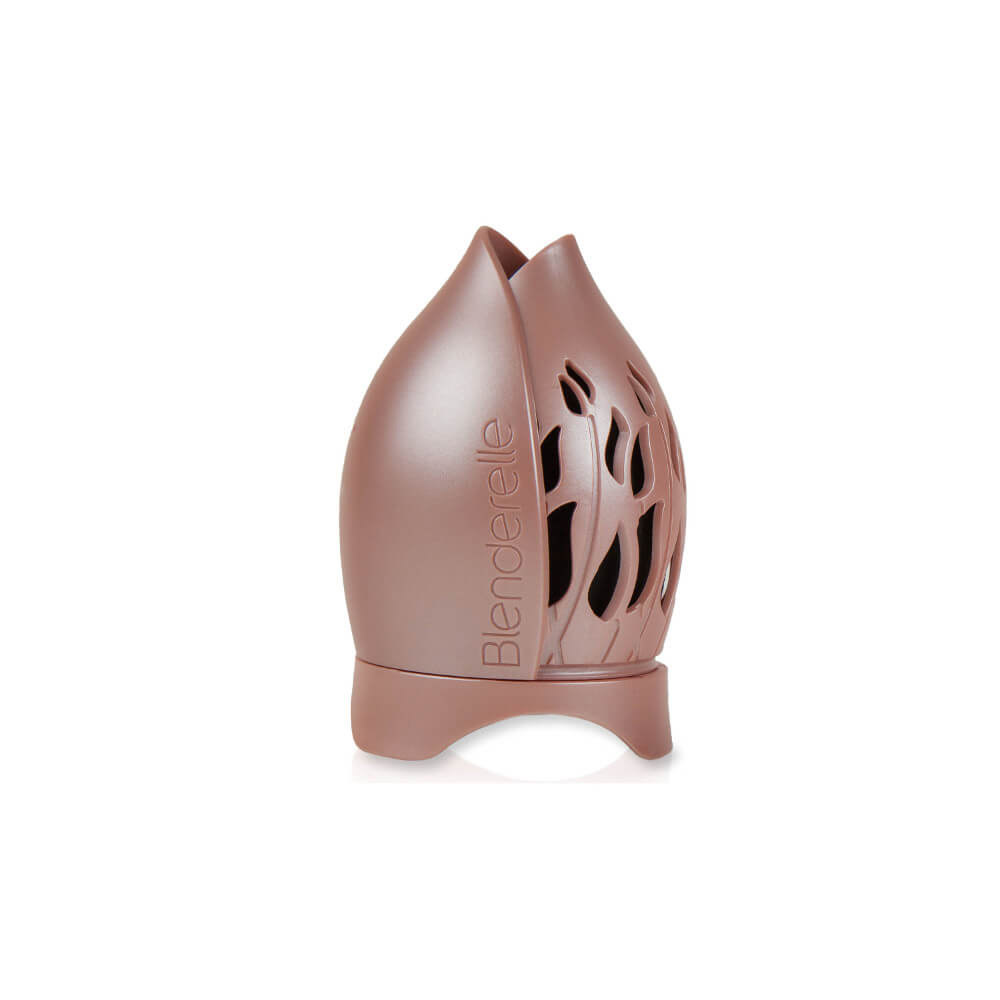
You’ve cleaned your sponges diligently so the last thing you want is a damp one collecting mold. Don’t forget to air-dry your sponges to remove all moisture. Storing them properly is also important. Remember, sponges are porous so leaving them around with the rest of your makeup can make them dirty again. The original Beautyblender packaging is actually designed to dry and store the sponge so you won’t have any problems. You can also try the Blenderelle ($10).